
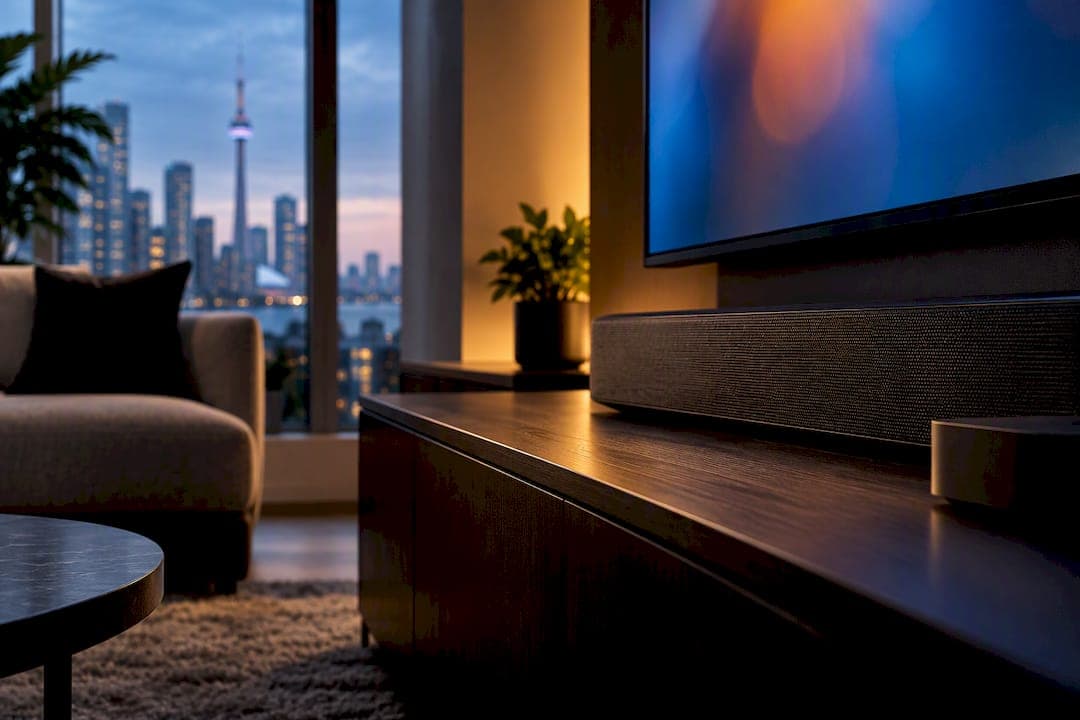
The fastest way to build a great home theatre is to get four things right, in this order: a stable connection to your TV, a display that handles HDR well, a fast dedicated streaming device, and sound that fills the room. Wire your main TV to your router if you can, budget roughly the recommended Mbps per 4K stream, and confirm your device and TV both support HDR and Dolby Atmos before you spend another dollar on anything else.
TL;DR:
- Wired Ethernet connection to the router is the most effective way to prevent buffering and pixelation in a home theater setup.
- A TV with strong contrast and accurate HDR support offers better visual quality than one with higher resolution but weaker HDR performance.
- Choose a streaming device based on your viewing needs, favoring dedicated media players for longer software support and performance.
- Proper HDMI and eARC setup, including the correct sequence and high-speed cables, is crucial to ensure optimal audio and video quality.
- Investing in reliable internet, a good sound system, and proper speaker placement yields a more noticeable improvement than upgrading to the most expensive TV.
Table of Contents
- Home theatre streaming setup: the four pillars that matter most
- What streaming device actually fits your home theatre?
- Getting HDMI and eARC right for 4K and Atmos
- Making Dolby Atmos actually work in your room
- Where Torontobestiptv fits into your streaming setup
- Where to actually put your money first
- Get your home theatre streaming and live TV running without the guesswork
- Sources
- FAQ
Home theatre streaming setup: the four pillars that matter most
Most home theatre disappointment traces back to one of four things: the internet connection, the display, the streaming device, or the sound system. Get these four working together and you've built one of the most cost-effective home streaming setups available, regardless of how much you spend on any single piece.
Internet comes first because everything else depends on it. A wired Ethernet connection to your main TV, or to the nearest mesh Wi-Fi node, tends to be the single most effective fix for buffering and pixelation. If running a cable isn't practical, check your router's age. Anything older than four or five years may struggle with multiple 4K streams at once, and household congestion (someone gaming, someone on a video call, someone else streaming) eats into your available bandwidth fast.
Your display matters more for HDR performance than for raw resolution. A mid-range TV with strong contrast and accurate HDR handling will often look better than a cheaper 4K set with washed-out blacks. Pay attention to HDMI port count and version, and size your screen to your actual viewing distance rather than chasing the biggest panel in the store.
Your streaming device is where a lot of households cut corners, and it costs them. Built-in smart TV platforms tend to slow down and stop receiving app updates years before the panel itself wears out.
Sound is the pillar people underestimate most. A decent soundbar with eARC support handles casual viewing fine. Once you want real Atmos immersion or you're serious about movie night, you're looking at an AVR paired with a subwoofer and dedicated speakers.
-
Wire the TV or nearest mesh node with Ethernet before troubleshooting anything else.
-
Budget about the recommended Mbps per active 4K stream, more if multiple people stream at once.
-
Choose HDR performance over resolution specs when comparing TVs.
-
Treat your streaming device as a 2 to 3 year component, not a lifetime purchase.
-
Upgrade from soundbar to AVR and subwoofer once Atmos content becomes a priority.
What streaming device actually fits your home theatre?
Choosing a streaming device for home theatre use comes down to matching the device type to how you actually watch, not to whichever box has the flashiest marketing. Four categories dominate the market, and each makes a different trade-off between price, performance, and longevity.
- Streaming sticks. Compact, affordable, and easy to hide behind the TV. They're a reasonable entry point for casual viewers, but processing power is limited, and 4K performance on cheaper models can lag during demanding scenes.
- Android TV boxes. These sit at the middle of the market and typically outperform sticks on raw processing power. The Android TV app ecosystem is broad, and many boxes double as light media centres for local files alongside streaming apps.
- Premium dedicated media players. Built for enthusiasts who want the fastest possible UI response and the widest format support, including full Dolby Vision and Atmos passthrough. You pay more, but software updates and performance tend to hold up longer.
- Pre-configured IPTV boxes. These arrive set up for live TV and sports out of the box, which removes a lot of the configuration guesswork for buyers who want channels working on day one rather than a blank streaming interface.
Before buying, check five specs regardless of category: 4K and HDR support (including which HDR formats, since Dolby Vision and HDR10+ aren't universal), Dolby Atmos passthrough, HDMI version, eARC support on the output, and remote quality, since a laggy or cramped remote will annoy you daily.
Software longevity deserves more attention than most buyers give it. PCMag's testing consistently flags app ecosystem and update cadence as the real differentiator between devices, not the spec sheet. A box that stops receiving firmware updates after 18 months will fall behind on app compatibility even if the hardware still works. Before committing, check whether your must-have apps are actually available in Canada. Some regional restrictions still apply to certain streaming services depending on device platform.
A pre-configured IPTV box makes sense when you'd rather skip the setup process entirely and want combined app and live TV access on one remote, particularly if sports and live channels matter more to your household than building the perfect on-demand library. For a closer look at how these boxes handle installation specifically, see our Android TV IPTV setup guide for Canada.
Getting HDMI and eARC right for 4K and Atmos
Signal routing trips up more home theatres than any piece of hardware does. The order matters: connect your source device, or your AVR's main HDMI output, to the TV first, run the AVR's setup wizard, then add your other sources one at a time. If you're running sound through eARC instead of a full AVR chain, the source→TV→soundbar path via the eARC port works, but only if that port is correctly labelled and enabled on both ends.

Homerous's step-by-step setup guide confirms this order avoids the handshake failures that cause dropped audio or downgraded picture when devices boot in the wrong sequence.
A few settings quietly block full quality without any error message at all:
- Enable bitstream or passthrough audio in your source device's settings; many devices default to a downmixed PCM signal instead.
- Disable secondary audio programming, which can force a lower-bitrate audio stream on some TVs.
- Confirm both the TV and AVR clearly label their eARC or ARC port. Plugging into a standard HDMI input instead breaks the audio return path entirely.
- Use Ultra High Speed HDMI cables if you want full HDMI 2.1 features like 4K at 120Hz or enhanced Atmos bandwidth. Older "High Speed" cables can bottleneck the signal.
Pro Tip: If Atmos suddenly stops working after a firmware update, the passthrough setting is the first thing to check. Updates frequently reset audio output to a default stereo or PCM mode without notifying you.
Making Dolby Atmos actually work in your room
Dolby Atmos speaker layouts are described in notation like 5.1.2 or 7.1.4, where the last number tells you how many height or overhead channels you're running. A 5.1.2 setup (five main speakers, one subwoofer, two height channels) suits most living rooms, while 7.1.4 is overkill unless your room is genuinely large and dedicated to movies.

Dolby's own installation guidelines call for either true overhead speakers or Atmos-enabled upward-firing modules, paired with an AVR that supports height channel processing, and correct calibration for accurate object placement.
Speaker and receiver matching gets skipped constantly by first-time buyers, and it's a real mistake. Mismatched impedance or power handling between speakers and receiver can strain the amp or leave speakers underpowered, so check the ohm rating and wattage range on both before wiring anything.
- Angle front and surround speakers toward the main listening position (toe-in), rather than firing straight across the room.
- Choose true ceiling-mounted height speakers over upward-firing modules when you can, since bounced sound is more dependent on ceiling height and material.
- Keep speaker distances roughly even from the main seating position; large mismatches confuse the receiver's timing calculations.
Run your AVR's auto-calibration system, whether that's Audyssey, Dirac, or YPAO, as a starting point rather than a final answer. Dolby's own guidance notes that automatic calibration can misread height-enabled speakers or upward-firing modules, so a manual listening pass afterward catches errors the microphone missed.
Where Torontobestiptv fits into your streaming setup
An IPTV subscription paired with a pre-configured box turns your streaming device into the hub for live TV and sports, not just on-demand apps. Torontobestiptv's home installation visit handles the physical setup for households that would rather not troubleshoot HDMI order themselves, while the Premium VOD + 4K library and All-Sports pass add movie and live sports content on top of your base plan.
If your priority is getting live channels and sports running with minimal fuss, a managed service with Canadian edge routing removes a layer of guesswork DIY setups don't solve on their own. If you're comfortable wiring your own AV chain and calibrating speakers, the DIY path in the sections above will get you most of the way there.
Where to actually put your money first
Spend on network reliability and sound before you spend on the priciest TV on the floor. A mid-range HDR display paired with a wired connection and a proper AVR will outperform a flagship TV fed by weak Wi-Fi and a bundled remote speaker every time. If wiring or Atmos speaker placement feels beyond your patience, a local installation visit solves it in an afternoon.
— Aj
Get your home theatre streaming and live TV running without the guesswork
Torontobestiptv is the alternative to piecing together your home theatre setup app by app and cable by cable. Instead of hunting down region locks, comparing five streaming boxes, and hoping your AVR handshake works on the first try, you get a pre-configured box, Canadian edge routing built for smooth live sports, and local Toronto-based support if anything needs adjusting after install.
Plans start at a low monthly rate, with multiple subscription length options available for households who want to lock in savings. If your setup needs more than one screen running at once, additional simultaneous screens are available for an added monthly fee per screen. Pair any plan with a home installation visit if you'd rather have someone wire the HDMI chain and calibrate the sound for you.
Browse current plans and trial details, or check out pre-configured IPTV boxes if you're starting your home theatre from scratch.
Sources
- Dolby Atmos installation guidelines (PDF)
- Best Home Streaming Setup in 2026 | PrimusSource
- How to set up a home theater system, step by step
- The Best Media Streaming Devices We've Tested for 2026 | PCMag
FAQ
What is the best streaming device for a home theatre?
There's no single best device. It depends on whether you prioritize raw app selection, premium 4K/Atmos performance, or live TV and sports out of the box. Dedicated devices with strong update support consistently outperform built-in smart TV platforms over the long run, and a pre-configured IPTV box is worth considering if live sports and channels matter more to you than app-hopping.
What is the ideal setup for a home theatre?
The ideal setup prioritizes a wired or strong mesh internet connection, an HDR-capable display sized to your room, a fast dedicated streaming device, and sound that goes beyond built-in TV speakers. Running Ethernet to your main TV is typically the highest-value single upgrade available.
What equipment do I need to set up for live streaming at home?
You need a reliable internet connection rated for at least 15 Mbps per 4K stream, an HDR television, a streaming or IPTV device, and either a soundbar with eARC or a full AVR and speaker setup for Atmos content. Connect your AVR's main HDMI output to the TV first, then add sources, following the standard setup sequence to avoid handshake issues.
What is the best streaming box in Canada?
The right streaming box in Canada depends on whether you want app-based streaming, live TV and sports, or both combined. A pre-configured IPTV box with Canadian edge routing and live sports access is a strong option for households that want convenience without configuring separate apps for every service.