
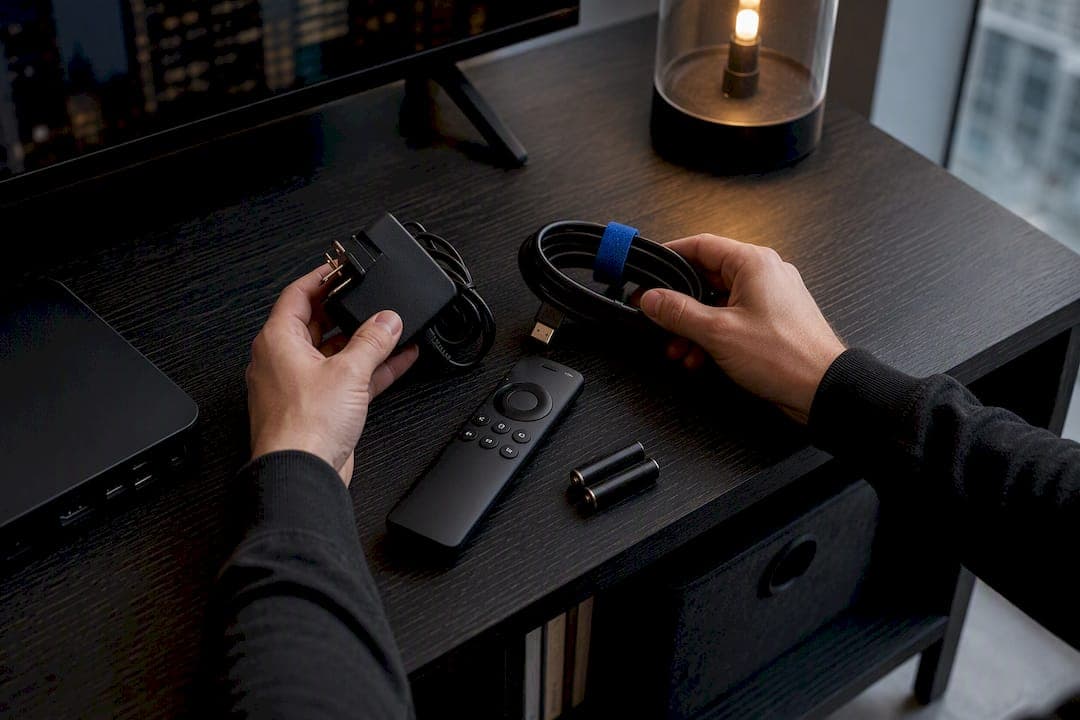
Power on your BuzzTV box, connect HDMI directly to the TV, then choose Ethernet or Wi‑Fi and pair the remote before adding your server. That's the core flow for every model. The two exceptions to know upfront are that PowerStation 6 units must connect straight to the TV with no receiver in between, and G‑Series boxes need Google TV setup finished first, with the BuzzTV app installed after.
TL;DR:
- Wired Ethernet is highly recommended for reliable live channel streaming and PVR recording, as Wi‑Fi can cause buffering and audio sync issues during peak usage.
- PowerStation 6 units must connect directly to the TV without a receiver, and G‑Series models require completing Google TV setup before installing the BuzzTV app.
- For Bluetooth remotes, pairing involves holding specific buttons until the LED blinks and confirming on-screen prompts, while IR remotes work instantly without pairing.
- Adding a server is easiest with Web Add Server using QR codes to avoid typos, with testing connections immediately after setup to prevent configuration errors.
- Regular firmware updates and backups of your server profiles ensure stability, especially before resets or hardware modifications like installing NVMe drives on the PowerStation 6.
Table of Contents
- BuzzTV setup guide: hardware and first-time connection
- Wired vs Wi‑Fi: which network setup actually works better?
- How do you pair the BuzzTV remote to the device?
- How do I add a server to my BuzzTV box?
- Keeping your BuzzTV firmware updated and settings backed up
- Installing NVMe storage on the PowerStation 6
- Soft reset vs hard reset: what should you try first?
- Which setup steps change by model?
- Customising the BuzzTV home screen after setup
- Where to find official BuzzTV manuals and setup videos
- What actually trips people up during BuzzTV setup
- A managed alternative if you'd rather skip the setup entirely
- Sources
- FAQ
BuzzTV setup guide: hardware and first-time connection
Before you touch a single cable, open the box and check what's actually inside. Most BuzzTV models ship with the streaming box itself, a power adapter, an HDMI cable, a remote, and two AAA batteries. If any of those pieces are missing, stop and contact the seller before proceeding, because a substitute power adapter is one of the most common causes of boot failures.

Plug the box into a wall outlet using the supplied adapter. Avoid powering it from a TV's USB port, as these may not supply consistent current, and BuzzTV units require stable voltage during startup.
Connect the HDMI cable from the box directly into an HDMI input on your TV. Older models like the E5, X5, and Classic also support AV output for TVs without HDMI, though picture quality will be noticeably softer. Once connected, grab your TV remote and cycle through inputs (often labelled "Source" or "Input") until you land on the port carrying the BuzzTV signal.
For the PowerStation 6, this step isn't optional. The P6 manual is explicit that the box must connect directly to the TV. If you normally route everything through a soundbar or AV receiver, bypass it during setup, at least temporarily.
Every BuzzTV model uses an LED to tell you what state it's in, and learning the colour code saves you a lot of guessing:
- Solid green: powered on and booting normally.
- Solid red (P6 and similar models): device is off or in standby.
- No light at all: check the wall outlet and confirm the adapter is fully seated in the port.
- Blinking or flickering LED with no picture: usually points to an HDMI handshake issue, not a power problem.
If the LED shows a powered-on light but the screen stays black, the fault is almost always the cable path, not the box itself.
Wired vs Wi‑Fi: which network setup actually works better?
Ethernet is the better choice for live channels and PVR recording, full stop. Wired connections avoid the packet loss and jitter that Wi‑Fi introduces during peak household usage, which matters most when you're watching a live game and can't afford a three-second freeze at the worst moment.
To go wired, plug a LAN cable from your router into the Ethernet port on the back of the BuzzTV box. You should see a link light activate immediately on the port itself. If that light stays dark, try a different cable or a different port on the router before assuming the box is faulty.
If Ethernet isn't practical, Wi‑Fi works fine for most standard-definition and HD streams. From the network settings menu:
- Select your Wi‑Fi network from the visible list.
- Enter the password using the on-screen keyboard (patience helps here).
- Wait for the connection confirmation before backing out of the menu.
- If your network doesn't appear, check whether SSID broadcast is hidden and add it manually.
If the device reports "no internet" after connecting, restart your router first. That single step resolves a surprising share of connectivity complaints, because routers occasionally hand out stale DHCP leases that a reboot clears instantly. Test with a phone or laptop on the same network to confirm the problem isn't your internet service itself before troubleshooting the BuzzTV box further.
Pro Tip: Weak Wi‑Fi doesn't just cause buffering, it causes intermittent audio sync drift that's easy to blame on the app instead of the signal. If sound and picture drift apart during live sports, that's a bandwidth problem, not a software bug.
How do you pair the BuzzTV remote to the device?
Not every BuzzTV remote needs pairing. Infrared (IR) remotes work the moment you point them at the box, since they just need line of sight. Bluetooth remotes, which ship with newer models like the P6, need an actual pairing sequence before they'll respond.
To pair a Bluetooth remote, the sequence pulled from BuzzTV's manuals typically works like this:
- Hold OK and HOME simultaneously (some models use OK and Volume Down instead) until the remote's LED starts blinking.
- Wait for the on-screen prompt confirming a successful pairing.
- If pairing fails, remove the batteries for ten seconds and try again.
Once paired, install the BuzzTV Smart Remote app on your phone if you want extra control. It handles TV source pairing so one remote can switch inputs, adjusts volume mapping through the TV directly, and lets you program the remote's backlight timing.
For full source and power control, both your TV and the BuzzTV box need HDMI‑CEC enabled in their settings menus. Not every TV brand implements CEC the same way, so if volume or power control doesn't respond after pairing, that setting is the first thing to check.
How do I add a server to my BuzzTV box?
This is the step that actually gets channels on your screen, and it's also where most people get stuck typing long server URLs with a remote control. BuzzTV solved that problem with Web Add Server, a feature that lets you enter credentials from your phone or computer instead of hunting for letters on an on-screen keyboard.
Server settings live in slightly different spots depending on which interface your model runs. On BuzzTV 6 OS devices (Classic AI, PowerStation 6), you'll find server management inside the main settings menu under a section usually labelled "Servers" or "Playlists." On the L1 Linux player, the same function sits inside its own dedicated menu, and the L1 help centre walks through it with video demonstrations for anyone who prefers watching to reading.
Here's the general Web Add Server flow:
- From the server settings screen, select Web Add Server or QR Code Add.
- A QR code appears on your TV screen. Scan it with your phone's camera, or note the web address and short code displayed alongside it.
- On your phone or computer, open the link and enter your server details: usually a server URL, a username, and a password, or a single playlist link depending on what your provider issued you.
- Submit the form. Within a few seconds, the credentials sync to your BuzzTV box automatically.
- Back on the TV, select Test Connection or wait for the automatic connection check before backing out of the menu.
That QR-code approach is a real usability win over the old method of thumbing through an on-screen keyboard one character at a time, especially for longer server URLs that are easy to mistype.
If you manage multiple households or multiple services, BuzzTV lets you save more than one server profile. Add each one through the same Web Add Server flow, then switch between them from the server list without re-entering credentials every time.
Pro Tip: Always run the connection test immediately after adding a server, before you back all the way out of the menu. If a typo slipped into the username or password field, catching it right away saves you from wondering later why channels won't load.
Keeping your BuzzTV firmware updated and settings backed up
BuzzTV pushes updates to two separate layers, and knowing which one you're updating matters. BuzzTV 6 OS devices update their operating system directly. G‑Series boxes update Google TV through Google's own system, then update the BuzzTV app separately through its own update path.
Check for updates from the system settings menu, usually under an "About" or "System Update" section. Run this check every few weeks, since new firmware often fixes the exact handshake and connectivity quirks covered earlier in this guide.
Before any update or factory reset, back up your server list and settings. Losing a properly configured server profile because of a skipped backup is an entirely avoidable headache.
- Locate the backup option inside settings, typically under "Backup & Restore."
- Save the backup to a USB drive or your cloud account if the model supports it.
- After an update, use Restore to reload the same settings, watching for firmware version mismatches that occasionally block a restore.
- If you use a VPN, the BuzzTV quick-start hub covers setup separately from server configuration, since the two features run independently.
Installing NVMe storage on the PowerStation 6
Only the PowerStation P6 accepts NVMe storage, so confirm your model before opening anything. Check the P6 manual for exact screw torque and supported drive specs before you start, since forcing a connector or over-tightening a screw is one of the fastest ways to void a warranty.
- Power off the box completely and unplug it from the wall.
- Ground yourself by touching a metal surface before opening the storage panel, to avoid static discharge damaging the drive.
- Insert the NVMe drive into its slot at the correct angle, then secure it with the included screws.
- Power the unit back on and open the PVR menu to format the new drive for recording use.
Pro Tip: Format the drive before you schedule your first recording, not after. A drive that hasn't been formatted for PVR use will show up in settings but silently fail the first scheduled recording, which is a frustrating way to miss a game.
Soft reset vs hard reset: what should you try first?
Start with a soft reset every time. It's the streaming-box equivalent of turning it off and on again, and it resolves a genuinely large share of glitches without touching any of your saved settings.
- Unplug the power adapter from the wall (not just the box).
- Wait 30 seconds.
- Plug it back in and let it boot fully before testing again.
Only move to a factory reset if the soft reset doesn't fix things. A hard reset wipes server profiles, saved settings, and app data back to the state the box shipped in, so back up first if you haven't already.
Work through this checklist before contacting support:
- No power at all: try a different outlet, confirm the adapter is the original one, check the LED colour.
- Blank screen with LED on: bypass any receiver or soundbar and connect HDMI straight to the TV.
- Remote won't pair: remove batteries for ten seconds, retry the Bluetooth pairing sequence.
- Server won't connect: rerun the Web Add Server flow and double-check for typos in the username or password.
- Home screen stuck or frozen: perform a soft reset before assuming it's a server issue.
If you do need to contact support, have this ready: the exact model name, a photo of the white label on the underside of the box (it usually shows the serial number), the current firmware version from the system menu, and the exact error message on screen. Support teams resolve tickets faster with those four details than with a vague description of "it's not working."
Which setup steps change by model?
The single biggest mistake BuzzTV owners make is applying one model's instructions to a different model. The G‑Series is the clearest example: it runs on Google TV, not BuzzTV's own operating system. That means you complete Google's account and Wi‑Fi setup screens first, exactly like setting up any Android TV device, and only afterward do you install the BuzzTV app to get BuzzTV's menus and server tools. If you're looking for BuzzTV settings before that app is installed, you won't find them, because they simply don't exist yet on that layer.
BuzzTV 6 OS devices, including the Classic AI and PowerStation 6, work differently: the BuzzTV interface is built into the box from first boot, with server management and settings native to the menu. The P6 direct-to-TV requirement still applies regardless of which network method you choose.
| Model family | Operating layer | Remote type | Special note |
|---|---|---|---|
| G‑Series | Google TV + BuzzTV app | G-Series remote (most compatible) | Complete Google setup before installing BuzzTV app |
| PowerStation 6 (P6) | BuzzTV 6 OS | Bluetooth | Must connect directly to TV, supports NVMe storage |
| Classic / Classic AI | BuzzTV 6 OS | IR or Bluetooth | Built-in server menu from first boot |
| X5 / E5 | BuzzTV app-based | IR | Supports AV output for older TVs |
| L1 | Linux player | IR | Dedicated video library for server setup |
Customising the BuzzTV home screen after setup
Once channels are loading, a few quick adjustments make daily use noticeably smoother. From the appearance settings on BuzzTV 6 OS, you can switch the colour theme and rearrange or hide rows on the home screen so your most-watched categories sit at the top.
- Set up favourites to group your regular channels instead of scrolling the full guide every time.
- Enable the EPG (electronic program guide) so you can browse what's airing and schedule PVR recordings ahead of time.
- Adjust screen position, scale, language, and time zone from the display settings menu, particularly useful if the picture doesn't quite fill your TV's edges out of the box.
Small as these tweaks sound, they're usually what separates a box that feels clunky from one that feels genuinely easy to live with.
Where to find official BuzzTV manuals and setup videos
BuzzTV's own quick-start hub is the fastest way to find a video walkthrough matched to your exact model, covering first-time setup, server configuration, firmware updates, and reset procedures in one place.
- PowerStation P6: the official manual covers NVMe installation and first-time setup screens.
- L1 Linux player: the help centre hosts videos specifically for Web Add Server and multi-server management.
- G‑Series: the product page explains the Google TV installation sequence and BuzzTV app setup.
- Classic, E1/E2, E5, X5: downloadable manuals are available from BuzzTV's welcome page for each device family.
Watch the model-specific first-time setup video before attempting anything advanced, like multi-server switching or NVMe installation. It'll save you from guessing at a step that's genuinely different across BuzzTV's device lineup.
What actually trips people up during BuzzTV setup
Follow one sequence and you'll avoid most of the support calls: hardware first, wired network second, remote pairing third, server details fourth, backup last. Skipping straight to server setup before confirming a stable network connection is the single most common reason people think their BuzzTV box is "broken" when it's actually just offline.
Book a professional home installation if you're dealing with a wall-mounted TV, a multiroom setup with several boxes, or Wi‑Fi that's unreliable in the room where the TV lives. DIY setup works fine for a straightforward living room with a router nearby, but multiroom wiring gets complicated fast.
One performance note worth remembering: latency during live sports comes down almost entirely to your network path, not the box itself. A wired Ethernet connection, or a genuinely strong Wi‑Fi signal, is what keeps a hockey broadcast from stuttering during the moment that actually matters.
— Aj
A managed alternative if you'd rather skip the setup entirely
Torontobestiptv exists for exactly the reader who just read this whole guide and thought, "I'd rather someone else did this part." Instead of troubleshooting HDMI handshakes and Bluetooth pairing sequences yourself, a home installation visit gets your box connected, networked, and streaming before you've even found the manual.
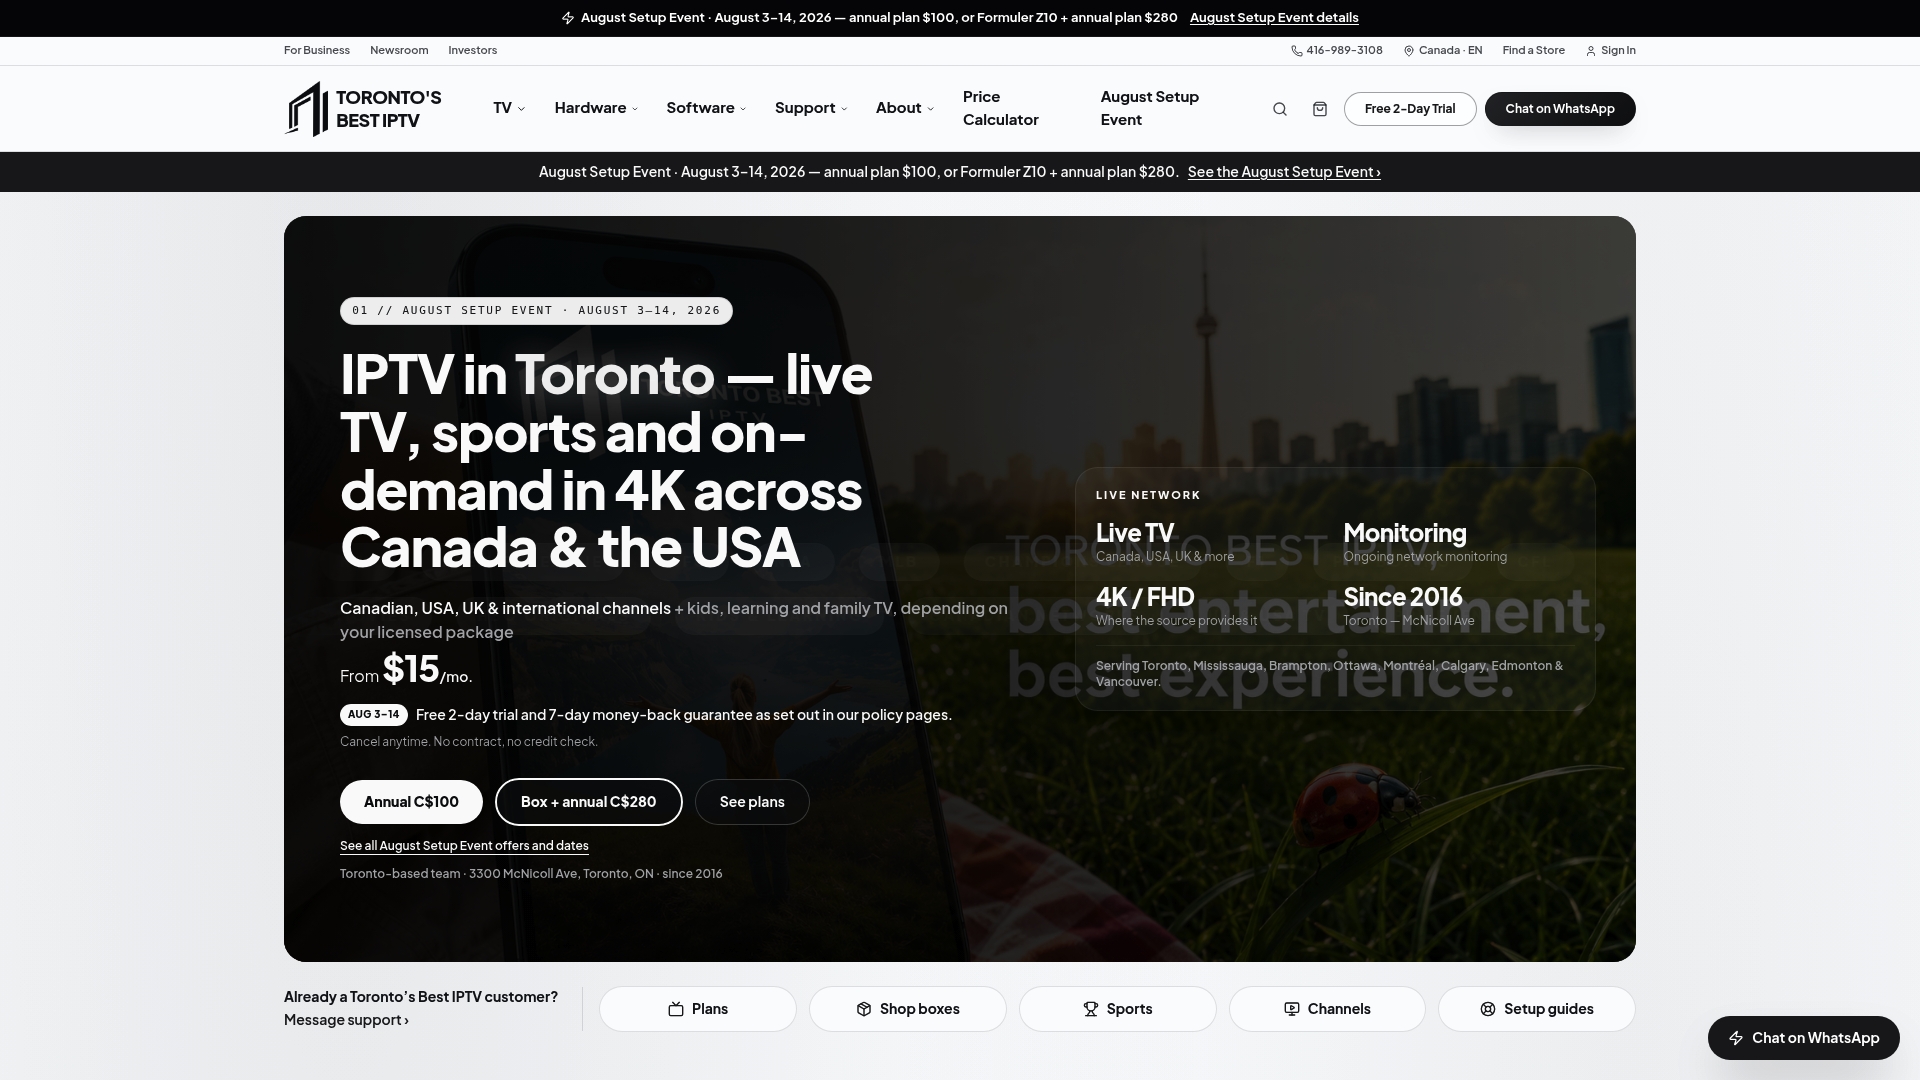
If you already own a BuzzTV device and just want the service side sorted, Toronto's Best IPTV offers 1 Month, 6 Months, and 12 Month plans starting from $15 a month, with Canadian edge routing built to keep live NHL and NFL broadcasts loading quickly instead of buffering at the worst moment. Readers who'd rather not manage hardware at all can also browse pre-configured IPTV boxes and remotes that arrive ready to connect. Multiroom households or wall-mounted setups often benefit from a paid installation visit; a single living-room box is usually fine to set up with this guide alone.
Ready to get started? Check the plans page for current pricing, or book an installation visit if you'd rather hand off the cable-and-remote part entirely.
Sources
FAQ
How do I do a first-time setup on a new BuzzTV box?
Power the device with its supplied adapter, connect HDMI directly to the TV, then choose Ethernet or Wi‑Fi from the network menu. Pair the remote if it's Bluetooth, then add your server through Web Add Server before expecting channels to load.
Why won't my BuzzTV box connect to Wi‑Fi?
Usually it's a router issue rather than the box itself. Restart the router, confirm the network name isn't hidden, and test another device on the same Wi‑Fi to rule out a broader internet outage before troubleshooting the BuzzTV settings further.
Does the PowerStation P6 need to connect directly to the TV?
Yes. The P6 manual specifies a direct HDMI connection to the TV, bypassing any receiver or soundbar in between, since intermediate devices can cause handshake failures and a blank screen.
How is G‑Series setup different from other BuzzTV models?
G‑Series devices run Google TV, so you complete Google's account and network setup first, then install the BuzzTV app afterward to access BuzzTV's menus and server tools. Other BuzzTV models have the interface built in from first boot.
What's the fastest way to add a server without typing on the remote?
Use Web Add Server from the server settings menu, scan the on-screen QR code with your phone, and enter your server URL, username, and password there instead of the TV's on-screen keyboard. It's noticeably faster and avoids typos on long server addresses.
Should I get a professional installation instead of setting it up myself?
DIY setup works well for a single box in a straightforward living room. A home installation visit from Toronto's Best IPTV makes more sense for multiroom setups, wall-mounted TVs, or homes with an unreliable Wi‑Fi signal in the room where the TV lives.